
Zero-Touch Enrollment for Google Workspace
Zero-touch enrollment simplifies IT management by automating the setup of Android and ChromeOS devices for organizations. Devices are configured with the correct policies and apps as soon as they are powered on, eliminating the need for manual setup. Here’s what you need to know:
- What It Does: Automatically configures devices with organizational policies during first use.
- Benefits: Saves time, ensures security, and allows devices to be shipped directly to users pre-configured.
- Who It’s For: Ideal for enterprises, healthcare, frontline workers, and educational institutions managing large device fleets.
- Requirements: Specific Google Workspace editions, advanced mobile management, compatible Android (9.0+) or ChromeOS devices, and authorized resellers.
This approach ensures devices remain under control, even after a factory reset, streamlining large-scale deployments for IT teams. Keep reading for detailed steps and prerequisites.
Chrome Enterprise: Getting started with zero-touch enrollment for Chrome OS
sbb-itb-c68f633
Prerequisites for Zero-Touch Enrollment
Before diving into zero-touch enrollment, it's crucial to ensure your setup meets the necessary technical and licensing requirements. This will help avoid hiccups during deployment.
Google Workspace Requirements
To enable zero-touch enrollment for Android devices, you’ll need specific Google Workspace editions. These include Frontline (Starter, Standard, Plus), Business Plus, Enterprise (Standard, Plus), Education (Standard, Plus), Endpoint Education Upgrade, Enterprise Essentials (Standard, Plus), Cloud Identity Premium, and legacy G Suite Basic/Business plans.
Advanced mobile management is a must. Devices under basic or no management won’t work because zero-touch enrollment requires device owner-level privileges to enforce policies effectively. If your organization is using basic management, upgrade to advanced endpoint management via the Google Admin Console before proceeding.
For ChromeOS devices, ensure you have the appropriate licenses, such as Chrome Enterprise, Education, or Non-Profit upgrades. Chromebooks that come bundled with Chrome Enterprise Upgrade already include the necessary licensing. Educational institutions deploying zero-touch enrollment must also configure their organizational unit with the "All users are 18 or older" age label.
Once your Google Workspace setup is ready, the next step is to verify device and reseller compatibility.
Device and Reseller Compatibility
Android devices must meet specific criteria. They should run Android 9.0 Pie or later, though some exceptions apply. Certain devices with Android 8.0 Oreo and Pixel phones with Android 7.0 Nougat are also supported. Additionally, the devices must support Google Mobile Services (GMS) with Google Play services enabled.
Devices must be purchased through an authorized enterprise reseller or Google partner. These resellers will create your zero-touch account during your first purchase and register the devices to your organization. To confirm reseller eligibility, use the Android Enterprise Solutions Directory before making any purchases.
For ChromeOS devices, compatibility depends on the manufacturer and model. Supported brands include Acer, CTL, HP, Lenovo, and Samsung. However, ChromeOS Flex devices are not compatible with zero-touch enrollment. These devices require "Flex automatic enrollment" instead.
Administrative Permissions
After confirming licensing and device compatibility, secure the appropriate administrative permissions in the Google Admin Console.
For Android devices, you’ll need the Services and devices administrator privilege to access and configure enrollment settings. These settings can be found under Menu > Devices > Mobile & endpoints > Enrollment.
The zero-touch enrollment portal operates with its own role-based system. The Owner role is essential for the initial setup. Only Owners can accept the Terms of Service, link the zero-touch account to Google Workspace, and manage other portal users. Additional roles, like Admin, Manager, Assigner, and Viewer, have progressively fewer permissions.
Make sure to use a corporate email address tied to a Google Account for administrative access. To enhance security, enable 2-Step Verification on all corporate accounts used for zero-touch administration.
How to Set Up Zero-Touch Enrollment
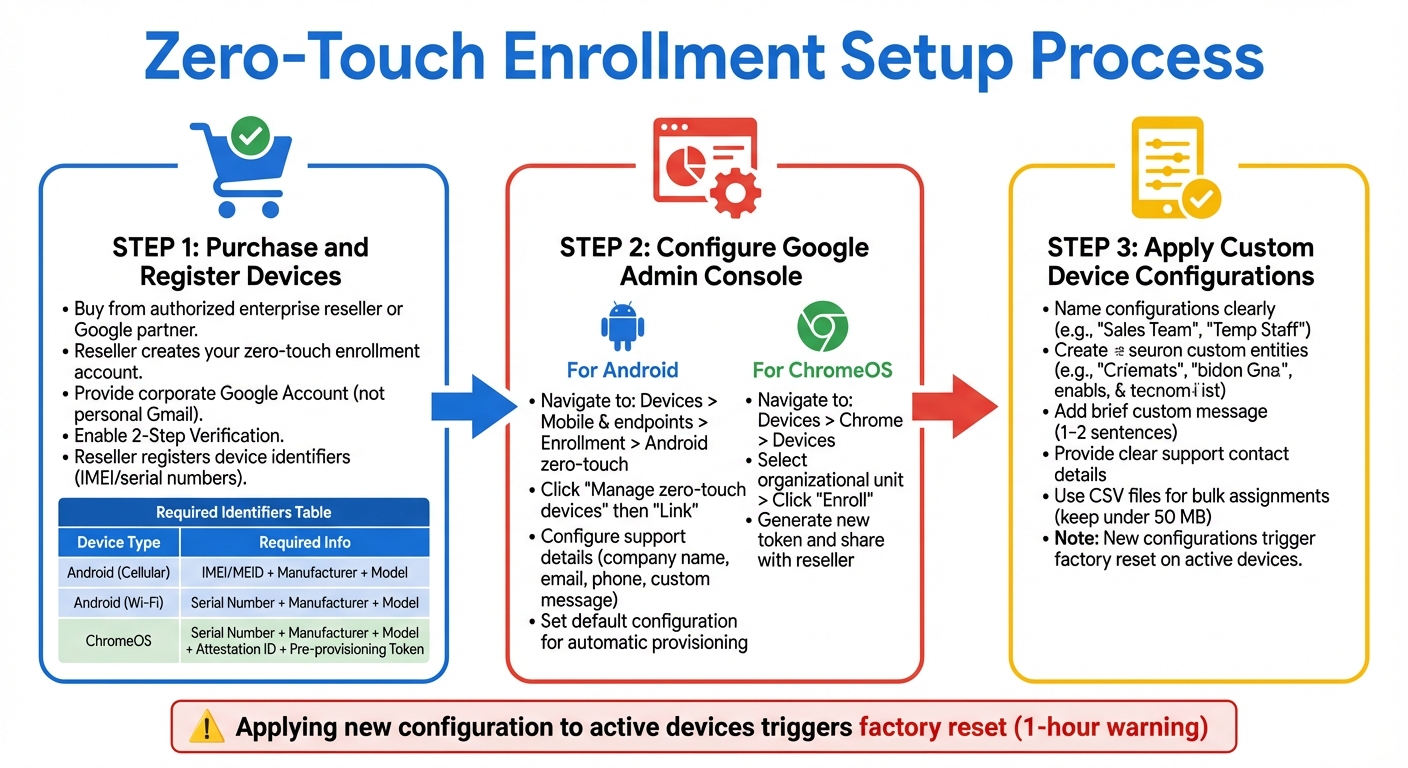
Zero-Touch Enrollment Setup Process for Google Workspace
To get started with zero-touch enrollment, you’ll need to work closely with resellers, configure the Google Admin Console, and set up device-specific settings.
Step 1: Purchase and Register Devices
Devices must be purchased from an authorized enterprise reseller or Google partner - consumer retail stores don’t support zero-touch enrollment.
When you make your first purchase, the reseller will create your zero-touch enrollment account. They’ll also register your devices by assigning hardware identifiers like IMEI or serial numbers through their portal.
To proceed, you’ll need to provide the reseller with a Google Account linked to a corporate email. Personal Gmail accounts won’t work here. Make sure to enable 2-Step Verification on the corporate account for added security.
For dual-SIM devices, register the primary IMEI. Resellers usually handle bulk registrations using CSV files, but note that ChromeOS devices are limited to 30 entries per CSV.
Here’s a quick breakdown of the identifiers required for registration:
| Device Type | Required Identifiers for Registration |
|---|---|
| Android (Cellular) | IMEI or MEID, Manufacturer, Model |
| Android (Wi‑Fi only) | Serial Number, Manufacturer, Model |
| ChromeOS | Serial Number, Manufacturer, Model, Attestation ID, Pre‑provisioning Token |
Once your devices are registered, you’re ready to configure the Admin Console for enrollment.
Step 2: Configure Google Admin Console
With your devices registered, the next step is to set up the Admin Console.
For Android devices, go to Devices > Mobile & endpoints > Enrollment > Android zero-touch enrollment in the Admin Console. Select Manage zero-touch devices, then click Link to connect the account your reseller created. You’ll also need to configure support details, such as your company name, email, phone number, and a custom message that users will see during setup.
For Chromebooks, navigate to Devices > Chrome > Devices, select your organizational unit, and click Enroll. Under the Zero-touch enrollment section, choose Generate new token. Share this token along with your Customer ID with your reseller to complete device registration.
To streamline the process, set a default configuration in the Admin Console so that new zero-touch Android devices are automatically provisioned when powered on for the first time. If you’re using an EMM console, copy the JSON policy data into the "DPC extras" field in the zero-touch portal to enforce specific policies.
Step 3: Apply Custom Device Configurations
When naming configurations, keep it simple - use labels like "Sales Team" or "Temp Staff" to make management easier. Add a brief custom message (one or two sentences) to explain the management process to users during setup.
Make sure to provide clear support contact details, formatted with standard patterns (e.g., plus signs, hyphens, and parentheses) so users can easily recognize and enter them.
For bulk configuration assignments, use CSV files under 50 MB. If your dataset is larger, split it into smaller files. Each CSV should include the following fields:
- For cellular devices:
modemtypeandmodemid - For Wi-Fi and ChromeOS devices:
serial - Additionally, include
manufacturerandmodelwhen using serial numbers, and setprofiletypeto "ZERO_TOUCH" along with theprofileidfield.
If you apply a new configuration to a device already in use, it will trigger a factory reset. Users will typically get a one-hour warning before the reset begins.
Managing and Troubleshooting Zero-Touch Enrollment
Monitoring Device Enrollment Status
Tracking devices works differently for ChromeOS and Android devices. For Chromebooks, head to Devices > Chrome > Devices in the Google Admin Console and use the Status filter. Devices marked as "Pre-provisioned" have been registered by the reseller but haven't been turned on yet. Once they're powered on and connect to the internet, their status changes to "Provisioned."
For Android devices, go to Devices > Mobile & endpoints > Enrollment > Android zero-touch enrollment and click Manage zero-touch devices to open the portal. Under the Devices tab, search for devices using their IMEI or serial number and confirm they have an assigned configuration. Devices showing "No config" need attention. The portal also keeps audit logs for configuration changes, device additions, and bulk uploads. However, these logs are only kept for one year, and only entries created after March 2025 are viewable.
If you're uploading bulk configuration files, review the email summary for any device errors and click "See details" to pinpoint the issues.
These steps are key to ensuring smooth enrollment and help set you up for quick troubleshooting if problems arise.
Troubleshooting Common Issues
Most enrollment issues boil down to registration errors or connectivity problems. If a device starts up unmanaged or displays "No config", search for its identifier in the portal. If you can't find it, contact your reseller. If it’s listed but unconfigured, assign a configuration and perform a factory reset.
For dual-SIM devices, it's crucial that the reseller registers the lowest IMEI (usually labeled Modem 1). If the second IMEI is used, the portal won’t recognize the device during setup. Also, keep in mind that zero-touch enrollment requires an active Ethernet, Wi-Fi, or cellular connection - roaming data won’t work during the Setup Wizard.
If you see the error "Your organization has set up this device" followed by an automatic reset, it means someone tried to use a QR code or EMM token on a device already assigned to zero-touch enrollment. To fix this, perform a factory reset and let the device complete setup without attempting manual enrollment methods.
The next steps explain how to update or remove device configurations as needed.
Removing or Reassigning Devices
If you need to change a device's policy or user group, edit its configuration in the portal and assign the new settings. These changes will take effect after the next factory reset. To temporarily prevent a device from enrolling without removing it entirely, set its configuration to "No config." This allows the device to operate as a consumer device while staying in your account for future use.
For permanent removal, deregister the device. Keep in mind that only your reseller can re-add it later. If you’re removing devices in bulk, upload a CSV file and replace the profileid column with an owner column set to 0. Remember, only users with Owner or Admin roles can perform these actions.
Important: A standard factory reset doesn’t disable zero-touch management. Unless you update the device's configuration in the portal, it will re-enroll automatically. These management tasks are critical for maintaining consistent IT policy enforcement across your organization.
Using AdminRemix with Zero-Touch Enrollment
Integrating dedicated management tools into zero-touch deployment simplifies device tracking and management throughout their lifecycle.
IT Asset Management with AssetRemix
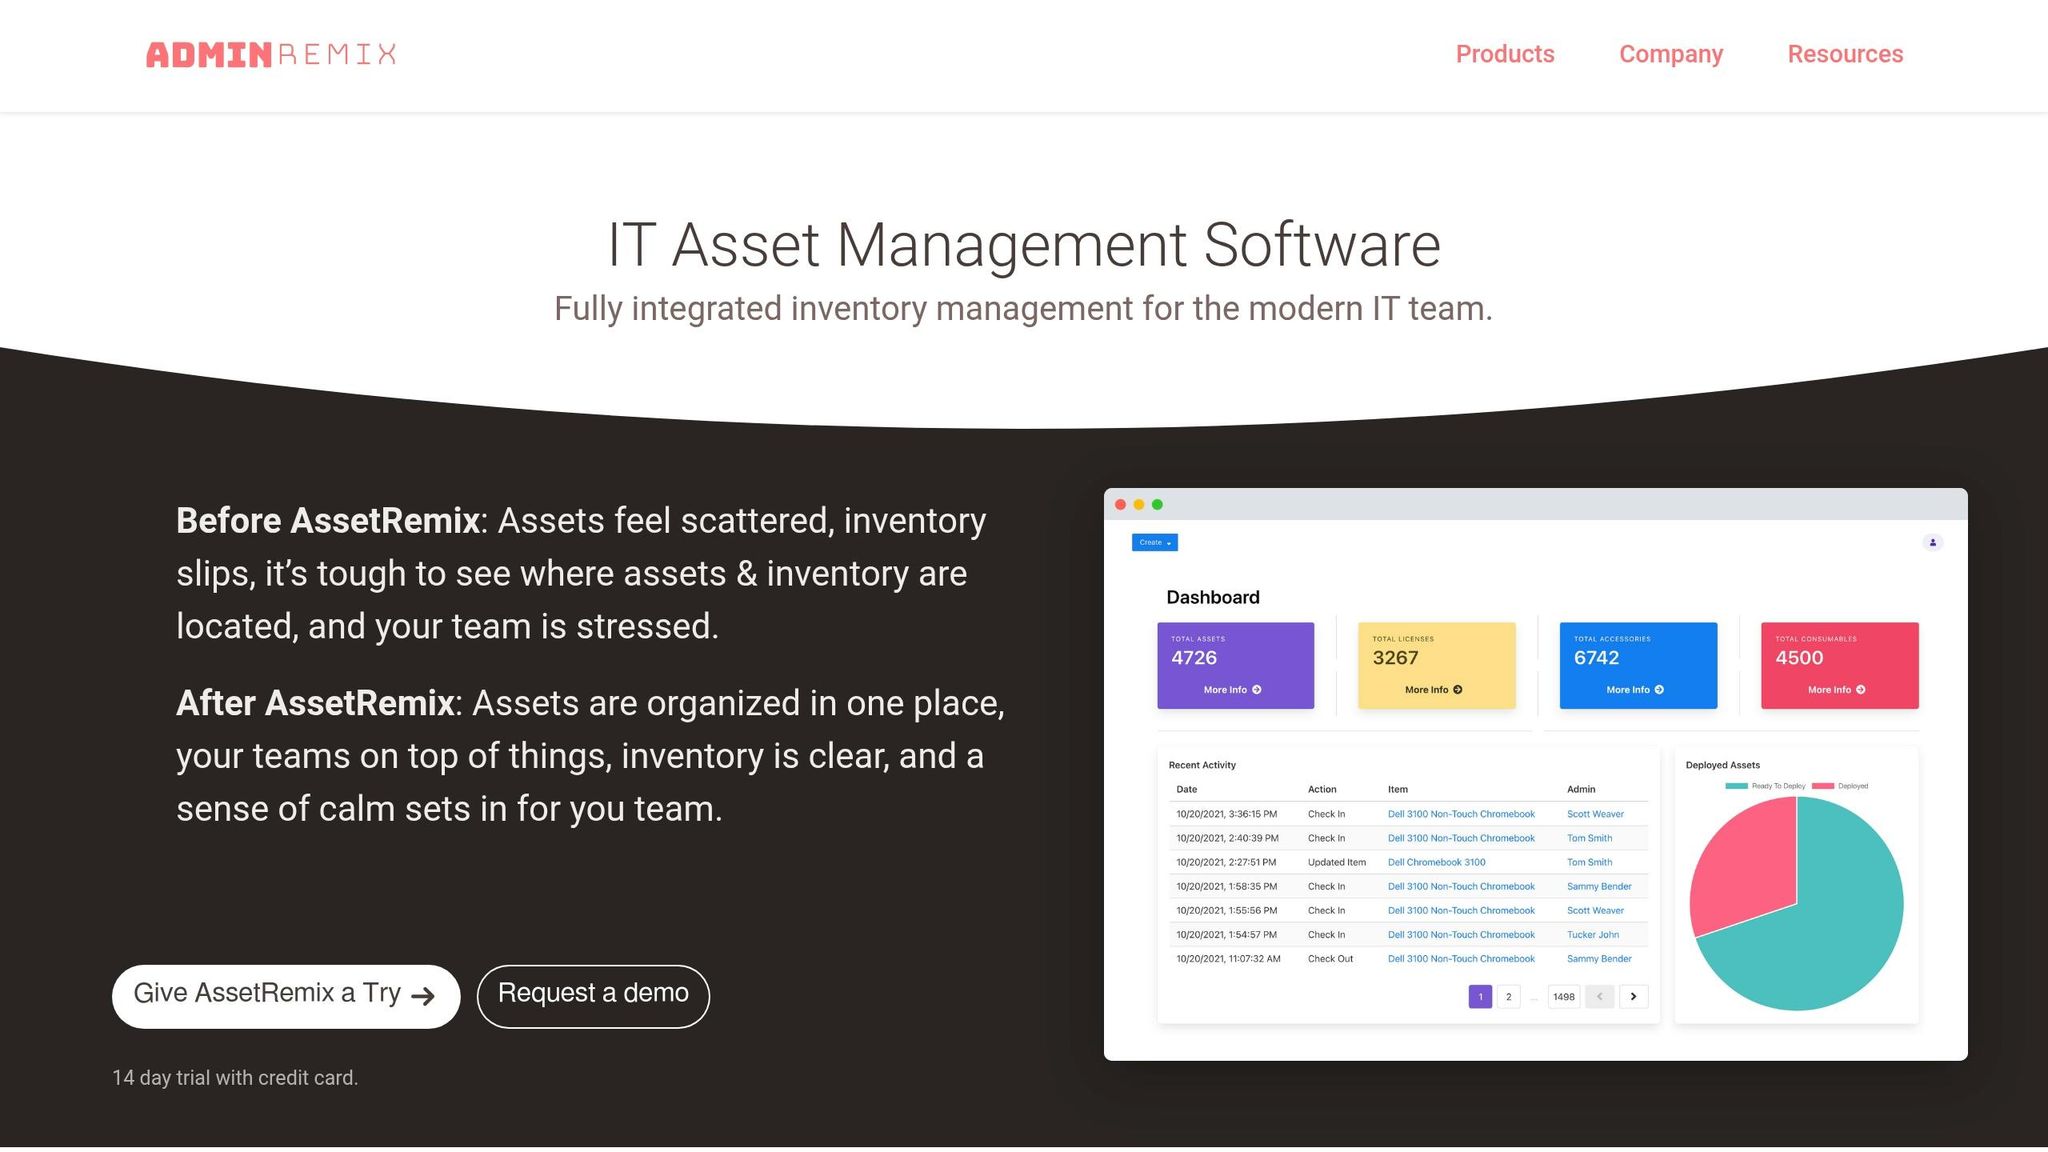
Zero-touch enrollment takes care of device configuration, but keeping tabs on your hardware over time requires a solid tracking system. That’s where AdminRemix's AssetRemix comes in. It links directly with the Google Admin Directory by mapping your Asset Tag field to either the Device ID or Serial Number - both essential for Google Workspace. Once devices connect and register with the Admin Console, AssetRemix automatically pulls their serial numbers from the Chrome Admin Console. This eliminates the hassle of manual barcode scanning, providing a smooth and automated way to track devices from deployment to retirement.
To make the most of this integration, enable the "Sync On" feature for fields tied to the Device ID or Serial Number. If you’re tracking assigned users, ensure you create those user records in advance and map them to the "Checked Out User" field. This setup guarantees full visibility into your device fleet’s lifecycle, right from the start.
Bulk Management with Chromebook Getter and User Getter
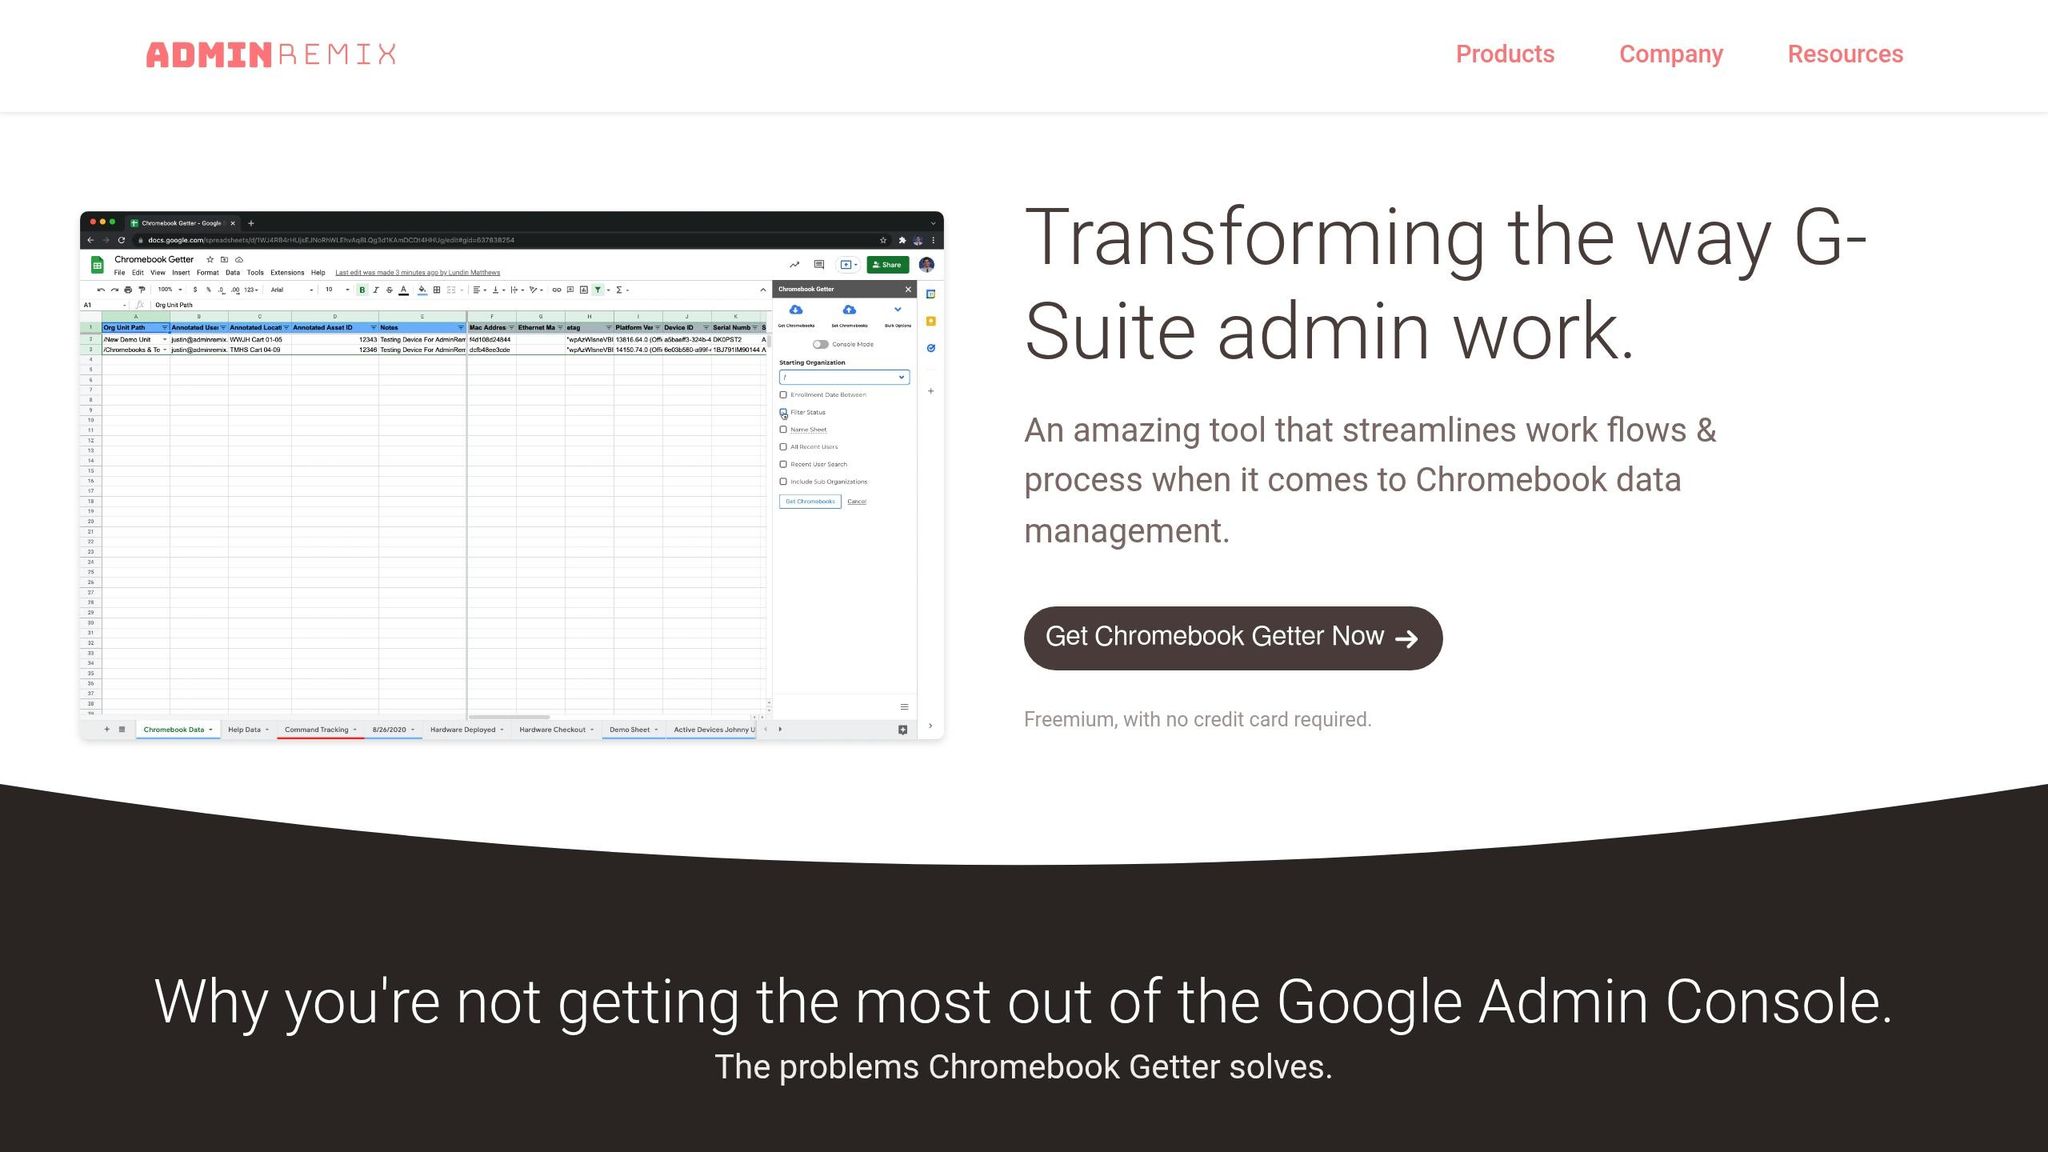
Zero-touch enrollment handles initial registration, but key details like location, asset ID, or assigned user often need to be added later. Enter Chromebook Getter, a tool that makes bulk metadata management a breeze through Google Sheets. You can download your fleet’s metadata, make updates in Sheets, and push those changes back using the "Set Chromebooks" action. With over 3 million installs and a 4.5/5 rating on the Google Workspace Marketplace, it’s a favorite among IT admins. Curtis Doherty shared his experience:
"Chromebook Getter has been an amazing tool in my Chromebook management process. I was able to replace GAM for Chromebook management."
The Premium plan, priced at $20.75 per month per user, adds helpful features like Auto Update Expiration reports and OS version tracking, perfect for planning hardware upgrades. The free tier supports up to 500 uploads monthly, making it a budget-friendly option for smaller operations. Similarly, User Getter simplifies bulk updates to G-Suite user metadata, saving time and effort.
Conclusion
Zero-touch enrollment has transformed how organizations handle large-scale device deployment. With this approach, IT teams can ship devices straight to users, leaving them with a simple task: power on the device and sign in.
"Zero-touch enrollment empowers companies to mobilize their employees and customize each managed device to every user's unique needs." – Promevo
When paired with AdminRemix, zero-touch enrollment makes IT operations even more efficient. Tools like AssetRemix automatically sync device data with the Chrome Admin Console, removing the need for manual tracking. Meanwhile, Chromebook Getter simplifies bulk metadata updates using Google Sheets.
To get the most out of your deployment, configure a Default Configuration in the zero-touch portal. Also, enabling the "Sync On" feature for fields like Device ID or Serial Number in AssetRemix ensures accurate inventory tracking from day one.
Whether you're managing a fleet of 50 devices or scaling up to 5,000, this integration frees your IT team to focus on more strategic tasks, rather than repetitive setups. These tools and strategies can help streamline your entire device management process.
FAQs
How long does zero-touch setup take for end users?
When users turn on their device and connect it to the internet, zero-touch setup usually kicks in automatically. The process is designed to be quick and effortless, often wrapping up in just a few minutes. This approach minimizes the need for user involvement, making the enrollment process as smooth as possible.
What should I do if a device shows 'No config' at first boot?
If a device displays 'No config' on its first boot, head over to the zero-touch portal to verify whether a configuration has been assigned. If the status reads 'No config,' assign the appropriate configuration and then perform a factory reset on the device. This step ensures that the device enrolls automatically with the correct policies during startup.
How can AdminRemix keep asset tags and assigned users accurate after enrollment?
AdminRemix keeps asset tags and assigned users accurate by connecting asset tags to the Device ID or Serial Number. To ensure everything stays properly mapped and synced with Google AD, make sure the Sync On option is turned on for these fields. This helps keep your asset details current and in sync with your device management system.