
Google Workspace MDM Setup: Key Steps
Google Workspace Mobile Device Management (MDM) helps IT admins manage and secure devices used within an organization. Through the Google Admin Console, you can enforce security measures like strong passwords, encryption, and remote wiping for lost or stolen devices. This system supports Android, iOS, Windows, macOS, Chrome OS, and Linux, making it suitable for both personal (BYOD) and company-owned devices.
Here’s what you need to know:
- Management Levels: Choose between Basic (default, no app installation) or Advanced (requires a device policy app, offers more controls like full device wipes and app management).
- Requirements: Admin privileges, structured Organizational Units (OUs), and user communication are essential before setup.
- Setup Process: Access the Admin Console, configure security policies (passwords, encryption, etc.), and enroll devices using automated tools like Android Zero-Touch or Apple Business Manager.
- Compliance Monitoring: Use tools like audit logs and reports to track device activity and enforce policies.
Advanced features like device approvals and iOS app management require higher-tier licenses (e.g., Business Plus or Enterprise). Proper setup and monitoring ensure data security while maintaining user productivity.
Google Workspace: Mobile & Endpoints
sbb-itb-c68f633
Requirements Before Setup
Before diving into Mobile Device Management (MDM) setup, it’s important to ensure a few things are in place: your admin account must have the right permissions, your organizational units (OUs) should be well-structured, and users need to be informed about upcoming changes. Skipping these steps can lead to headaches like access issues, policy conflicts, or frustrated users. Let’s break it down.
Admin Account Access and Permissions
First, make sure you’re using an administrator account with the Mobile Device Management privilege to access the Admin console. For managing iOS devices, you’ll also need the Services and devices administrator privilege to handle Apple certificates and settings.
To check your permissions, head to the "Devices" menu in the Admin console. If you’re managing iOS devices, remember to create and renew an Apple push certificate every year. You can also delegate administrative privileges by assigning them to specific OUs. This allows an admin to focus on managing a subset of users rather than the entire organization. Once you’ve verified your credentials, move on to structuring your OUs.
Organizational Unit Structure
By default, all users and devices fall under a single, top-level organizational unit. While this works for basic setups, creating a custom OU structure allows you to apply tailored security settings and MDM policies to specific groups, such as departments or teams. Child OUs inherit settings from their parent, so you can establish baseline policies for everyone while customizing rules for high-security teams or specialized groups.
It’s a good idea to create your OU structure before implementing MDM policies. This lets you test advanced features on a smaller pilot group without impacting the entire organization. For better management, consider separating users and devices into distinct OUs. Keep in mind that changes to OU settings may take up to 24 hours to fully propagate. A well-organized OU structure ensures smoother policy application and easier communication with users.
User Communication
Let users know in advance that their mobile devices will soon be managed. Be clear about what this means - explain security policies like password complexity, encryption, and any restrictions, such as IMAP access. For users under advanced management, provide instructions to install the required device policy app. Also, remind them that updates or changes to policies may take up to 24 hours to take effect. Clear communication helps set expectations and reduces confusion during the enrollment process.
Accessing the Google Admin Console
After verifying permissions and notifying users, the next step is to access the Google Admin Console to set up your mobile device management (MDM) policies. This will help you locate and configure the necessary settings efficiently.
Finding Mobile Management Settings
Head over to admin.google.com and sign in with an administrator account. If your organization uses Single Sign-On (SSO), you might be redirected to an additional login page. Super administrators can access the console directly, while others will need to authenticate through the SSO portal.
Once signed in, click the Menu icon and navigate to Devices > Mobile & endpoints, then select Settings. From there, choose Universal to access the general mobile management section. Here, you can configure key aspects like password policies, security requirements, and management levels. For platform-specific configurations (Android or iOS), you'll find those options under the same Settings menu.
To maintain security, re-authentication is required every hour. If you're a reseller managing a customer's account, you can access their console by visiting admin.google.com/customer_domain. Keep in mind that any changes made in the settings could take up to 24 hours to reflect across your organization, so plan your updates accordingly.
Once you've identified the settings, proceed to establish your mobile management policies.
Setting Up Mobile Management Policies
Google Workspace MDM: Basic vs Advanced Management Features Comparison
Once you've located the mobile management settings, the next step is to configure the policies that control how devices interact with your organization's data. These settings cover password requirements, device access, and security measures. You'll also need to choose your management level to simplify the application of these policies.
Choosing Basic or Advanced Mobile Management
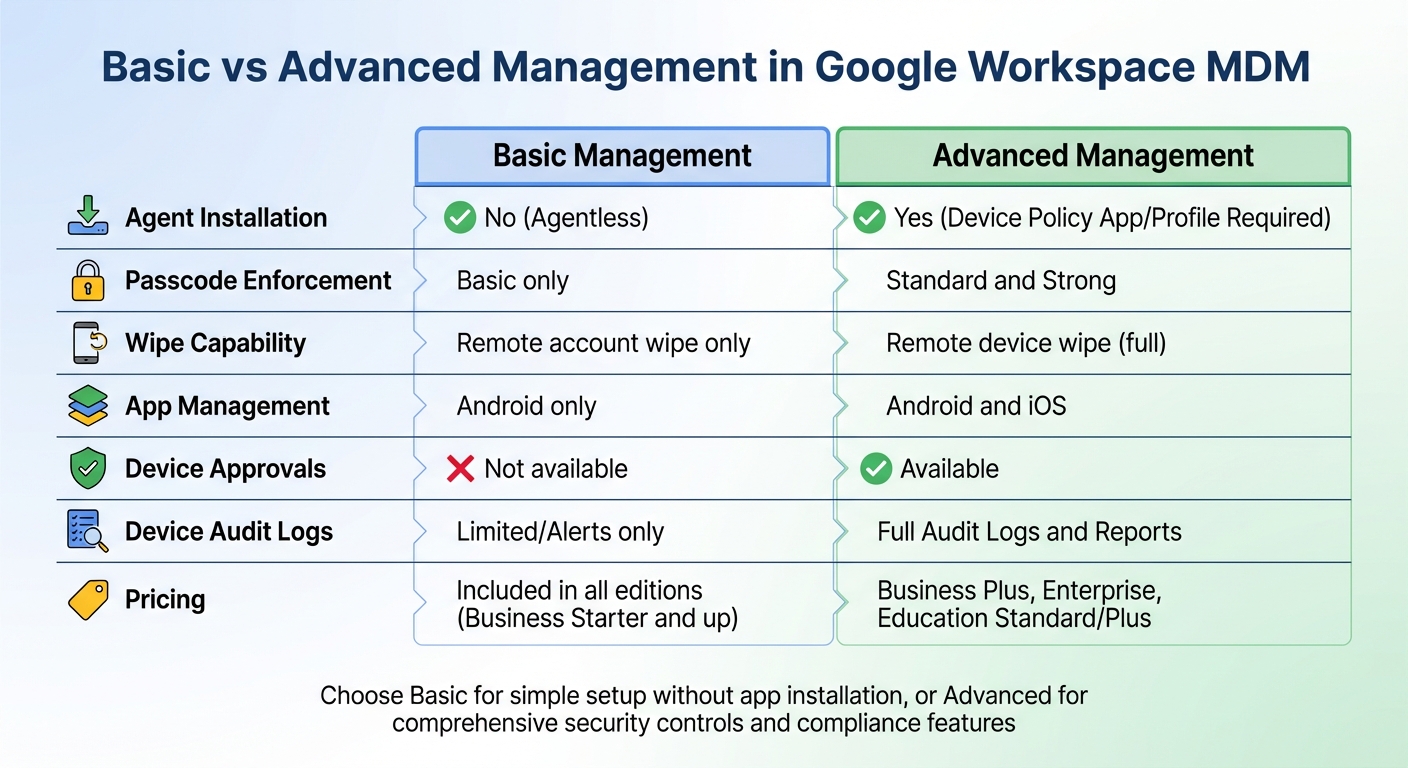
The choice between Basic and Advanced Management depends on your organization's security needs and available licenses. Basic Management is straightforward - users don’t need to install any apps. It enforces simple screen locks and allows remote wiping of corporate accounts from devices. On the other hand, Advanced Management requires users to install a device policy app or configuration profile, offering stronger password controls, full device wipe capabilities, and device approval workflows.
One important distinction: with Basic Management, it may take a few days for a device's OS version and encryption status to appear in the Admin console. This delay can impact Context-Aware Access policies. Advanced Management, however, enforces policies in real time and includes features like iOS app management and Android work profiles - options that Basic Management doesn’t provide.
| Feature | Basic Management | Advanced Management |
|---|---|---|
| Agent Installation | No (Agentless) | Yes (Device Policy App/Profile) |
| Passcode Enforcement | Basic only | Standard and Strong |
| Wipe Capability | Remote account wipe only | Remote device wipe (full) |
| App Management | Android only | Android and iOS |
| Device Approvals | Not available | Available |
| Pricing | Included in all editions, including Business Starter | Available with Business Plus, Enterprise, Education Standard/Plus |
To get started, go to General > Mobile management in the Universal settings. Select Basic for an easy setup that doesn’t require user-installed software, or choose Advanced if you need robust compliance features like full device wipes or restrictions on jailbroken devices. For mixed environments, select Custom to apply Advanced management to specific platforms while keeping others on Basic. Once configured, click Save.
Configuring Security Policies
Next, set up specific security rules under the Security section. In General > Password requirements, you can define the minimum password length, special character rules, and expiration intervals for mobile device access. While Basic Management supports only basic password rules, Advanced Management allows for both Standard and Strong passcode enforcement.
Enable Encryption to ensure that device data remains secure and can only be accessed when unlocked. This feature supports Android 3.0+ and iOS devices. You can also block compromised devices by preventing rooted Android devices or jailbroken iOS devices from syncing work data. For Android devices, consider enabling Autowipe, which automatically removes work data from devices that haven’t synced within a set timeframe (e.g., 30 days).
To protect sensitive information, configure lock screen privacy by setting the policy to "Don't allow notification details on lock screen." This prevents confidential details from appearing on locked devices. Be sure to notify users about these changes in advance to avoid lockouts or syncing issues.
Setting Up Device Approvals
Once security settings are in place, you can add an extra layer of protection with device approvals. This feature, available with Advanced Management, requires administrator verification before new devices can access your organization's data. According to the 2024 Data Breach Investigations Report by Verizon, 38% of breaches involved credential theft, making this step crucial for reducing risks.
To enable this feature, navigate to General > Device approvals in the Universal settings. Check the box for Require admin approval, and provide an IT support email address to receive notifications when users attempt to enroll new devices. Until approved, devices will remain in a "Pending" state and will not sync work data.
Regularly review pending devices by going to Devices > Mobile & endpoints > Devices and filtering for those with a "Pending" status. Inform users that their devices won’t have immediate access to Gmail, Drive, or other work apps until IT completes the approval process.
Enrolling and Managing Devices
To get started with Google Workspace MDM, you’ll need to enroll devices as part of your IT asset management strategy. The process differs depending on the platform, with Android and iOS offering distinct automated methods for company-owned devices. For Android devices running Android 9.0 Pie or later (or Android 7.0 Nougat for Pixel devices), zero-touch enrollment allows automated setup without manual intervention. For iOS devices, integration with Apple Business Manager (ABM) or Apple School Manager (ASM) is required, using server tokens that must be renewed annually.
Android Zero‑Touch Enrollment
Zero-touch enrollment simplifies the onboarding process for company-owned Android devices. Once powered on, these devices automatically check for an enterprise configuration, download the Android Device Policy app, and complete setup without user input. This feature requires purchasing devices from an authorized zero-touch reseller, who will configure your organization’s zero-touch account.
Here’s how to set it up:
- In the Admin console, navigate to Devices > Mobile & endpoints > Settings > Enrollment > Android zero‑touch and connect the reseller-provided account.
- Access the zero-touch portal, go to Configurations > Add, and select Android Device Policy as the EMM DPC. Provide your company name, support email, and a custom message for users during setup.
- Assign the configuration to devices by uploading a CSV file with device identifiers - use the IMEI for cellular devices or serial numbers for Wi-Fi–only models. For dual-SIM devices, always register the lower IMEI number to ensure proper detection during setup.
iOS Configuration Profiles
For managing company-owned iPhones and iPads, connect ABM or ASM to your Google Admin console. Start by downloading a public key from the Admin console and uploading it to ABM to create an MDM server. Afterward, download the server token from ABM and upload it back to the Admin console. Keep in mind that the server token expires annually and must be renewed to avoid interruptions.
Once the connection is set up:
- Assign device serial numbers to the MDM server in ABM. Allow up to 24 hours for devices to activate after assignment.
- In the Admin console, go to Devices > Mobile & endpoints > Settings > iOS to configure setup settings. Under Account Configurations, enable Push Google Account configuration to sync work email, calendars, and contacts with iOS’s default apps.
- Use the Data sharing and Advanced Security sections to apply restrictions, such as disabling screenshots or blocking iCloud backups for managed apps.
Devices enrolled through ABM/ASM are designated as "supervised", granting you greater control over settings like app installations and factory resets.
User Device Setup
While automated enrollment handles most of the heavy lifting, users still need to complete a few final steps. For iOS devices, they’ll be prompted to install the Google Device Policy app and a configuration profile when adding their work account. If assigned iOS devices don’t appear in the Admin console right away, use the "Sync DEP Devices" option to force an update - manual syncs typically take up to 30 minutes.
Monitoring and Maintaining Compliance
Once your system is set up, keeping an eye on compliance is critical. The Security Health page is your go-to for tracking mobile management status. It provides a comprehensive overview of device encryption, password policies, and compromised device blocking across all organizational units. If you're using advanced management, you also get detailed audit logs to track compliance. To review device events, navigate to Directory > Users, select a user’s device under Managed devices, and click Show Audit Info.
Another helpful tool is the monthly inactivity report for Android devices. This report highlights unused devices, which can then be set to trigger an auto-wipe for those that are not compliant. With these systems in place, you can move on to managing apps and network configurations.
App Management and VPN Configurations
For company-owned devices, you can control which apps employees can install by setting up whitelists in the Web and mobile apps section of the Admin console. To further tighten security, block installations from unknown sources and prevent users from disabling app verification. This ensures devices are regularly scanned for potentially harmful applications. Additionally, you can configure auto-wipe to remove corporate data from devices that fail to meet password, encryption, or security standards, such as being identified as compromised. To maintain uniform security, restrict users from altering VPN or Bluetooth settings.
Compliance Reporting and Auditing
Detailed reporting tools provide greater control and visibility. The Security Investigation Tool allows you to search real-time device data, such as identifying rooted or jailbroken devices, checking security patch levels, and verifying password compliance. For a broader view, Device Reports break down trends and activity over 7-day or 30-day periods, including statistics on OS versions and sync types. These reports can be exported - up to 210,000 cells - to Google Sheets or CSV files for external audits. To stay ahead of potential issues, you can set up mobile device activity alerts to notify you of specific security events.
| Feature | Basic Management | Advanced Management |
|---|---|---|
| Device Audit Logs | Limited/Alerts only | Full Audit Logs and Reports |
| App Management | Android only | Android and iOS |
| Remote Wipe | Account wipe only | Full device wipe or account wipe |
| Device Approvals | Not available | Required for access |
Using AdminRemix Tools for IT Management
After securing your mobile policies, you can take your IT management further by syncing device data with a dedicated asset management solution.
While Google Workspace MDM covers essential security tasks like device wiping, encryption, and app distribution, AdminRemix tools enhance lifecycle management by connecting devices to a centralized asset database. AssetRemix integrates effortlessly with Google Workspace through SAML Single Sign-On (SSO). Its Directory Sync feature automatically imports user and group data from the Google Admin console, offering precise control with "Intention" toggles. These toggles allow you to select specific OUs or Groups, ensuring only relevant devices are included in your asset database. Once the sync is complete, you'll receive an email confirming the successful import of user and group metadata. To enable this integration, go to "Web and mobile apps" in the Google Admin console, select "Add custom SAML app" for AssetRemix, and set the application to "ON for everyone". This setup extends your mobile policy management by adding robust lifecycle tracking capabilities.
AssetRemix for IT Asset Management
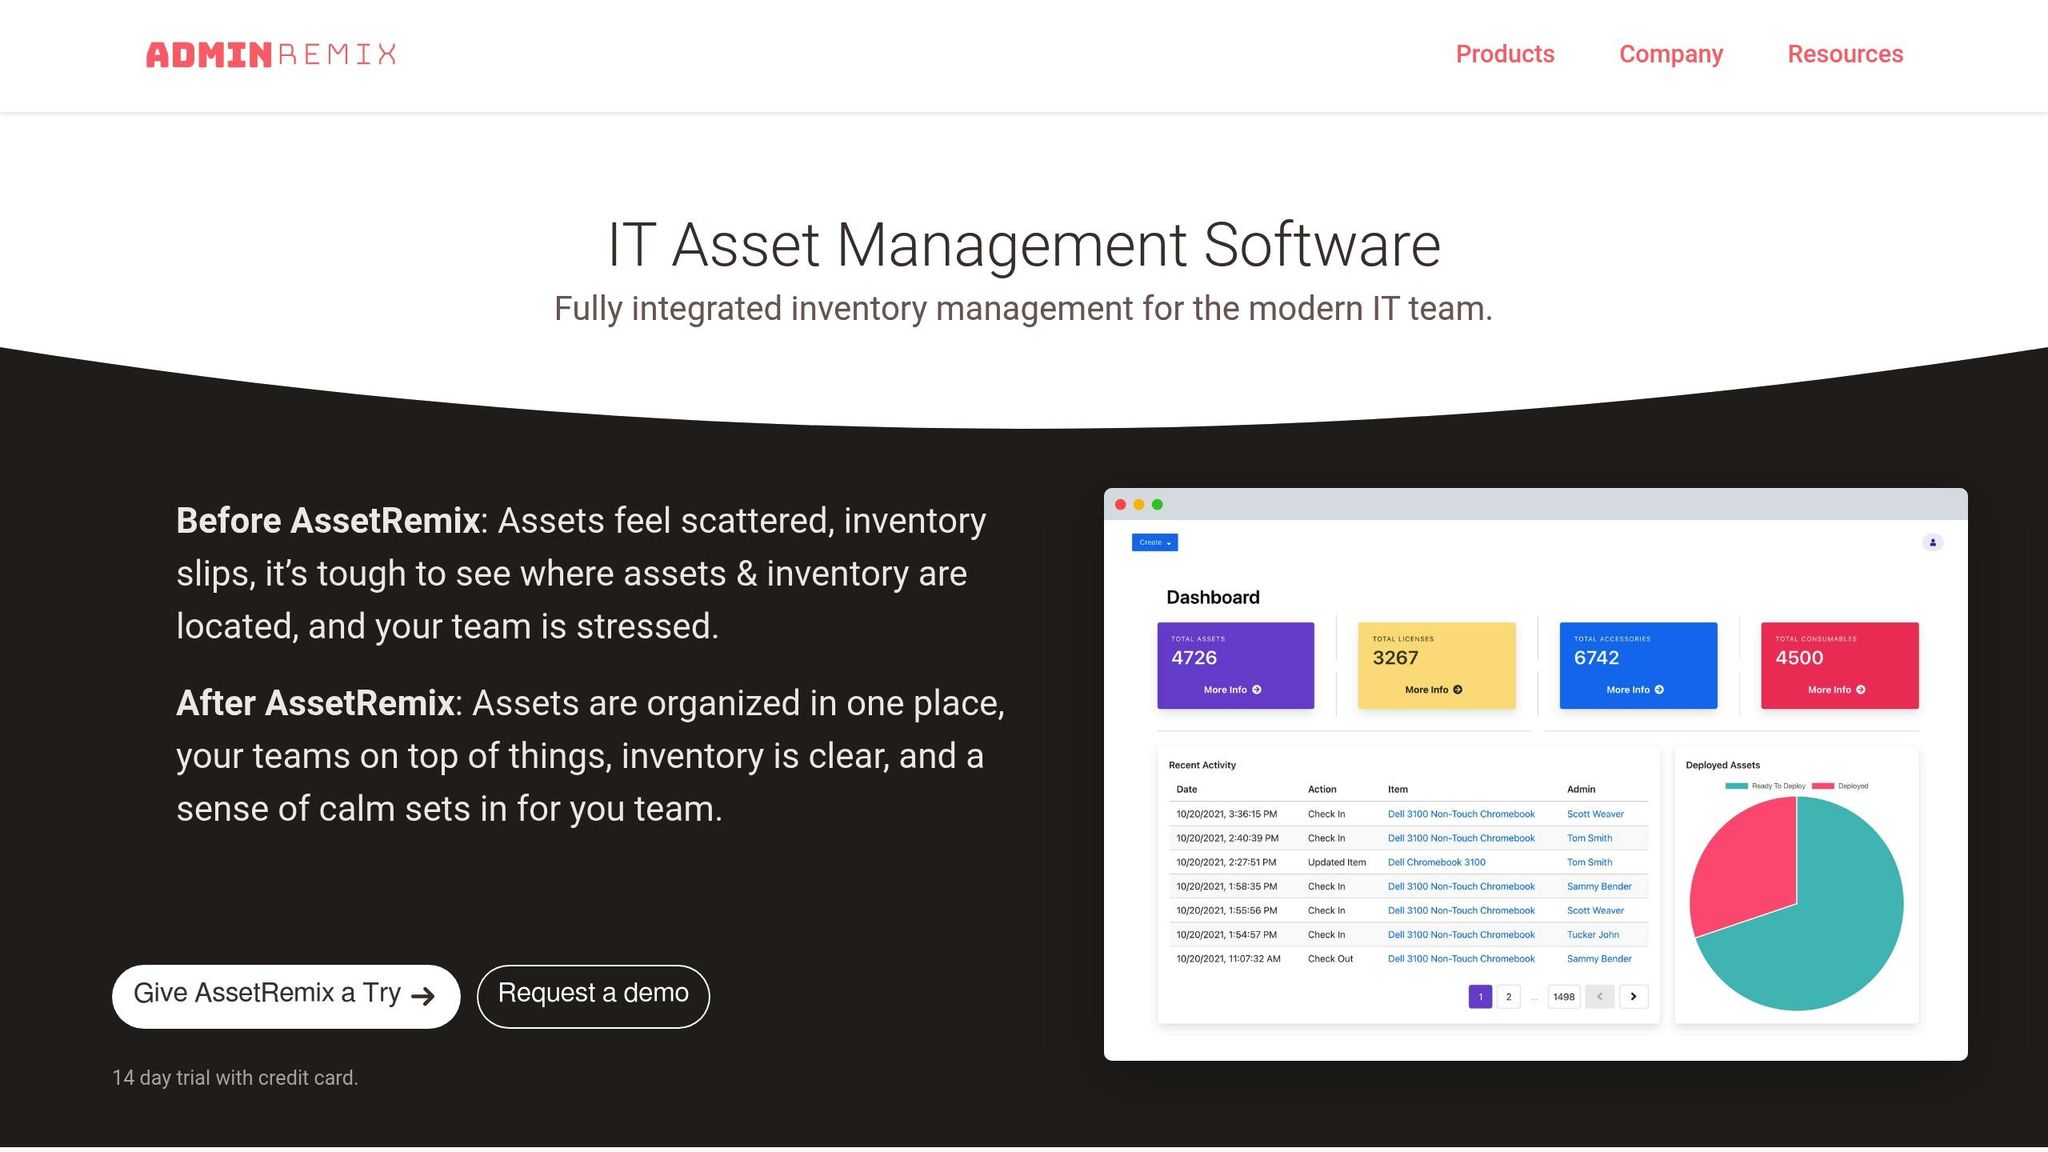
AssetRemix works seamlessly with your MDM setup to track the full lifecycle of devices managed by Google Workspace MDM. While MDM ensures compliance and security, AssetRemix links these managed devices to your synced user directory, giving you clear insights into device assignments and timelines. Its sync filters allow you to use the "Select Filter" option during Directory Sync to target specific fields and match types. This helps you avoid unnecessary changes and keeps your compliance reports focused on the devices that are most relevant.
Bulk Metadata Management with Chromebook Getter and User Getter
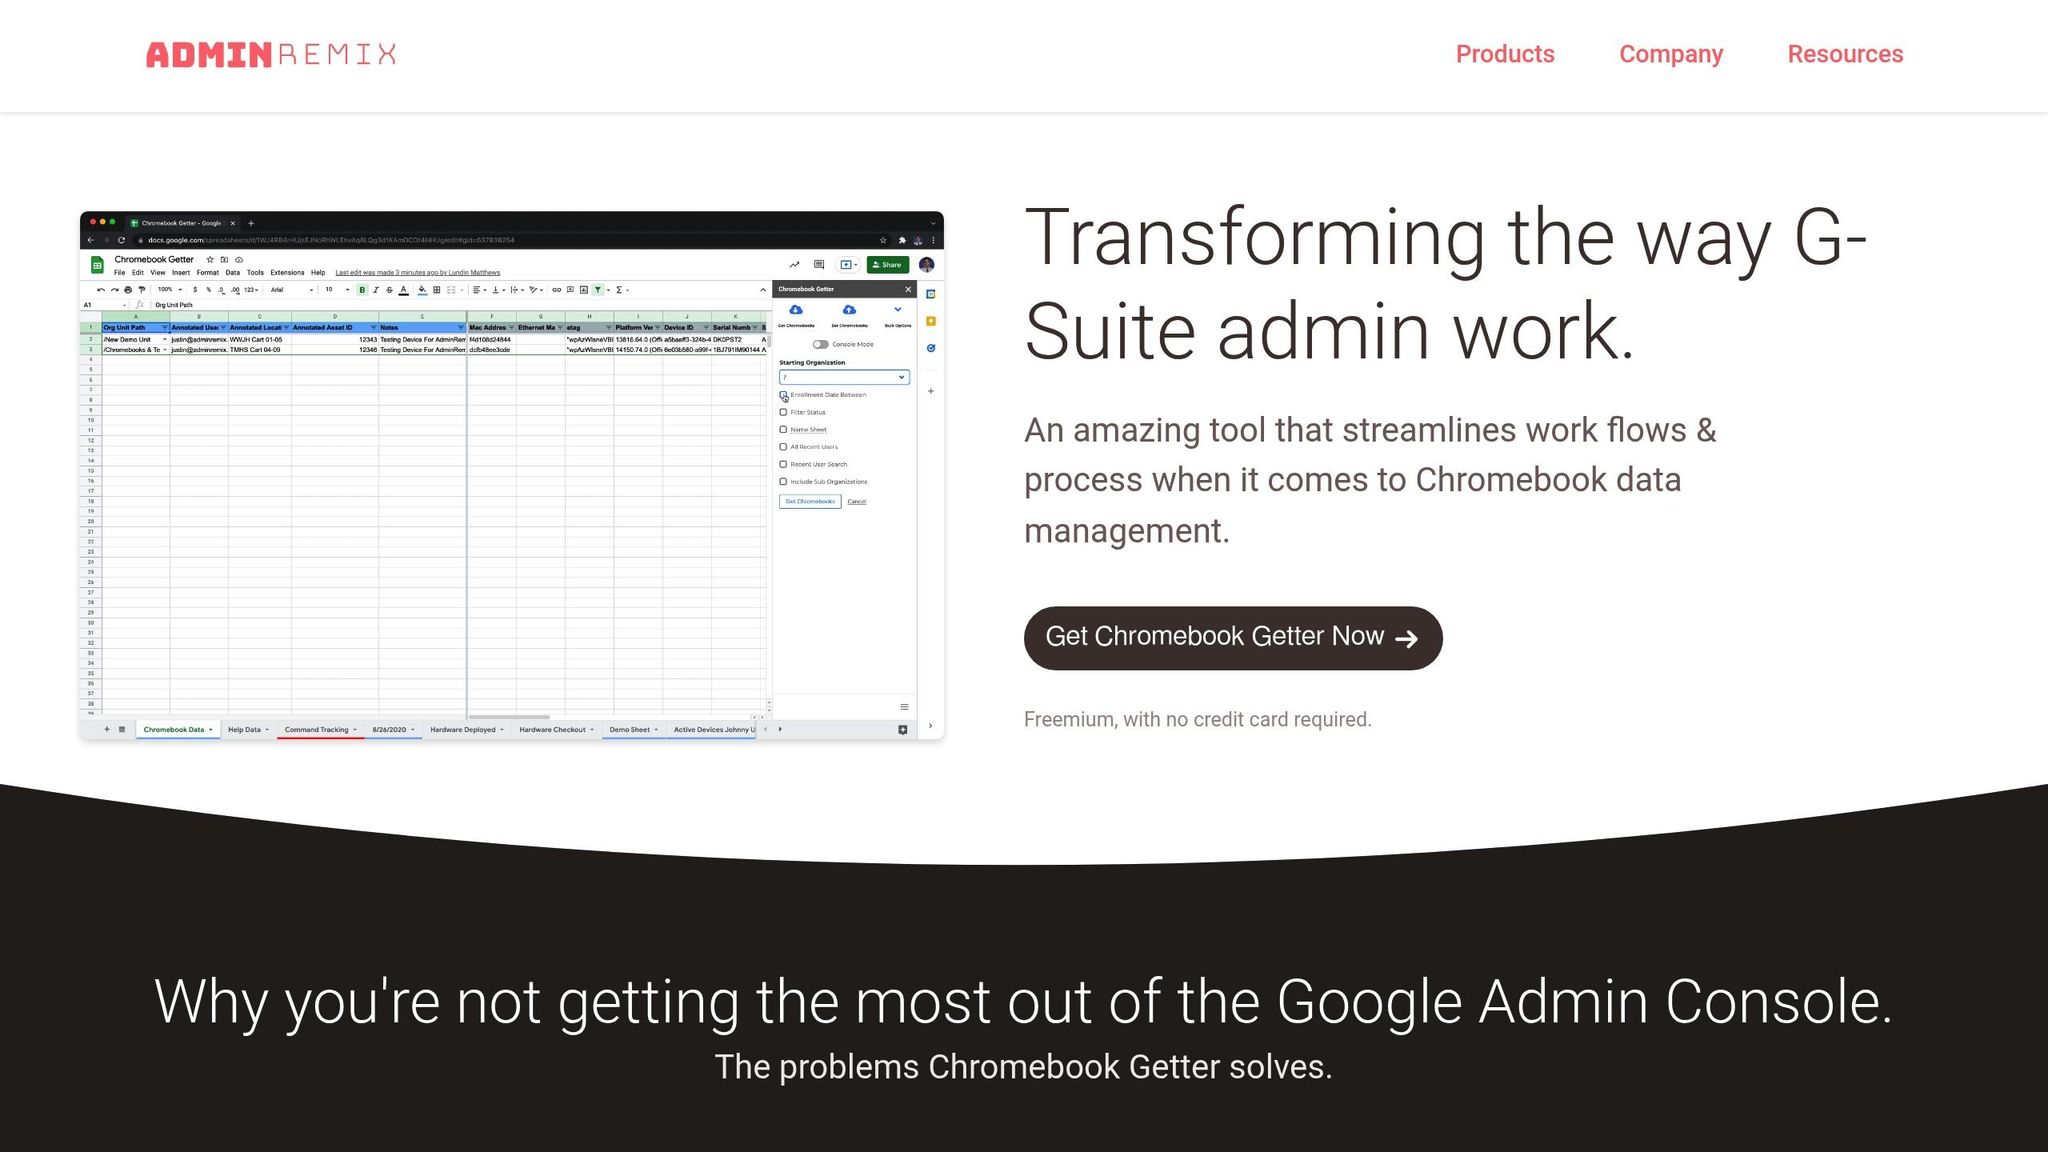
Managing large Chromebook fleets can be overwhelming, but Chromebook Getter simplifies bulk operations using Google Sheets. With this tool, you can download, update, and upload Chromebook fleet data, handling tasks like deprovisioning, power washing, and rebooting devices - all without navigating individual device pages. To use this tool, map Google Admin Directory fields to AdminRemix fields by linking Asset Tags to either Device ID or Serial Number. Turn on the "Sync On" option for the fields you need, then click "Execute" and "Sync" to import device statuses. If you're mapping a "Checked Out User" field, make sure the user already exists in the AssetRemix database. Additionally, the free account allows you to download complete fleet data, enabling you to create custom reports or export data to other systems - all without requiring a credit card.
Conclusion
Following these steps ensures your MDM setup not only secures devices but also simplifies management. Google Workspace MDM safeguards organizational data by enforcing encryption, requiring strong passwords, and blocking compromised devices. You can opt for basic management, which provides essential protections by default, or advanced management, which allows for full device wipes, iOS app oversight, and Android work profiles to keep personal and work data separate. Device approvals add an extra layer of security by requiring IT review before syncing organizational data, while automated enrollment options like Android Zero-Touch and Apple Device Enrollment streamline the setup process from the moment devices are powered on. This approach reduces gaps in security and saves time on manual configurations.
Keeping an eye on compliance is critical for maintaining security. Regularly review device audits to identify inactive or non-compliant endpoints, and set up activity alerts to address potential issues early. Be aware that with basic management, syncing a device’s OS version and encryption status may take a few days.
To further enhance your MDM capabilities, consider using AdminRemix tools. AssetRemix offers detailed lifecycle tracking for managed devices, while Chromebook Getter and User Getter allow you to perform bulk operations directly in Google Sheets. These tools eliminate the need to manage devices individually, giving you centralized visibility and automated workflows. This not only saves time but also improves compliance and operational efficiency across your entire device fleet.
FAQs
Which devices should I enroll first?
When setting up Google Workspace, begin by enrolling company-owned devices like mobile phones, laptops, and desktops. This step ensures these devices are managed effectively and secured within the system. By focusing on these devices first, you can maintain consistent security measures across the board and make IT management much simpler.
How do I handle BYOD without wiping personal data?
To handle BYOD (Bring Your Own Device) effectively without interfering with personal data, it's crucial to keep work and personal information separate on the same device. The key is to manage only the work-related apps, data, and settings. For iOS devices, this approach safeguards personal content while still allowing full control over work-specific resources.
What should I do when a device shows “Pending” approval?
When a device shows as “Pending” approval in Google Workspace, you’ll need to review and approve it through the Admin console. Head to the device management section, find the pending request, and approve it to allow access. For a step-by-step walkthrough, check out Google’s guide on managing devices, which covers actions like approving, blocking, unblocking, or deleting managed devices.